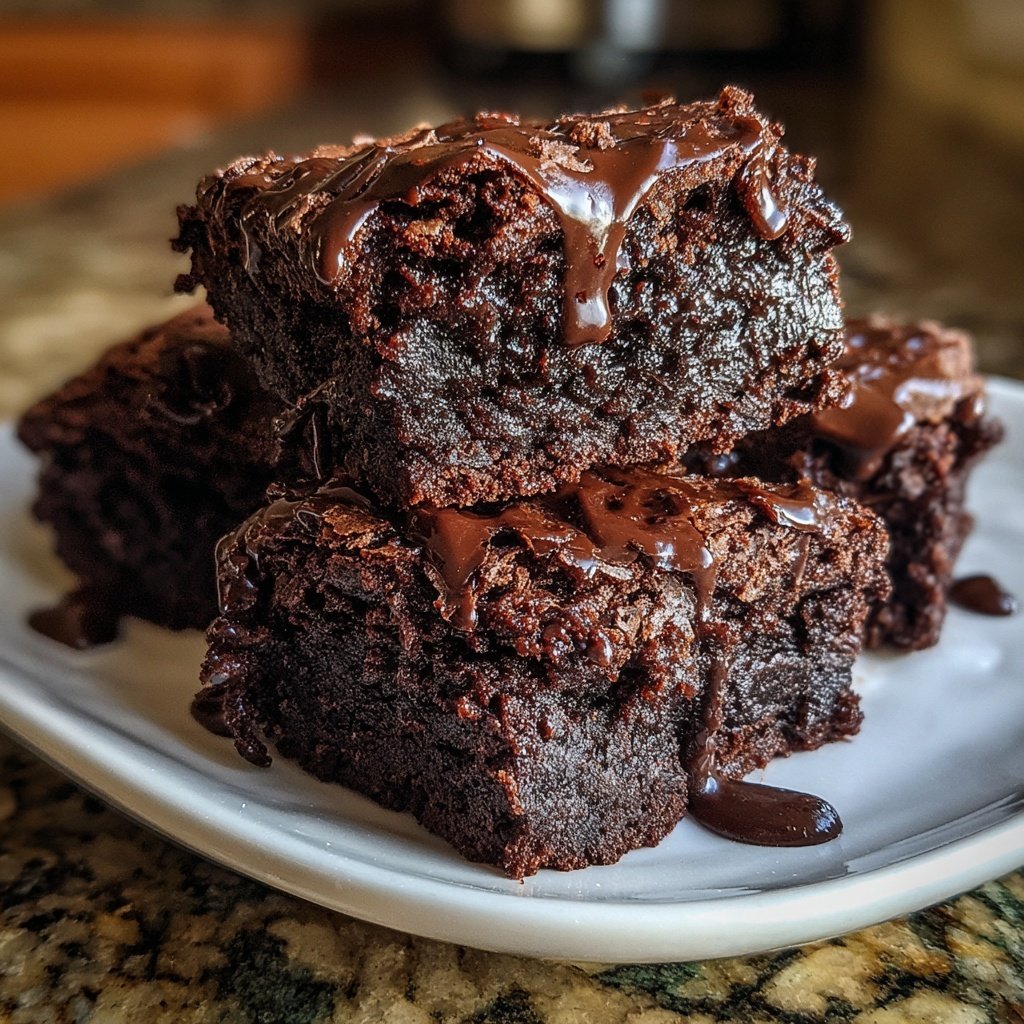
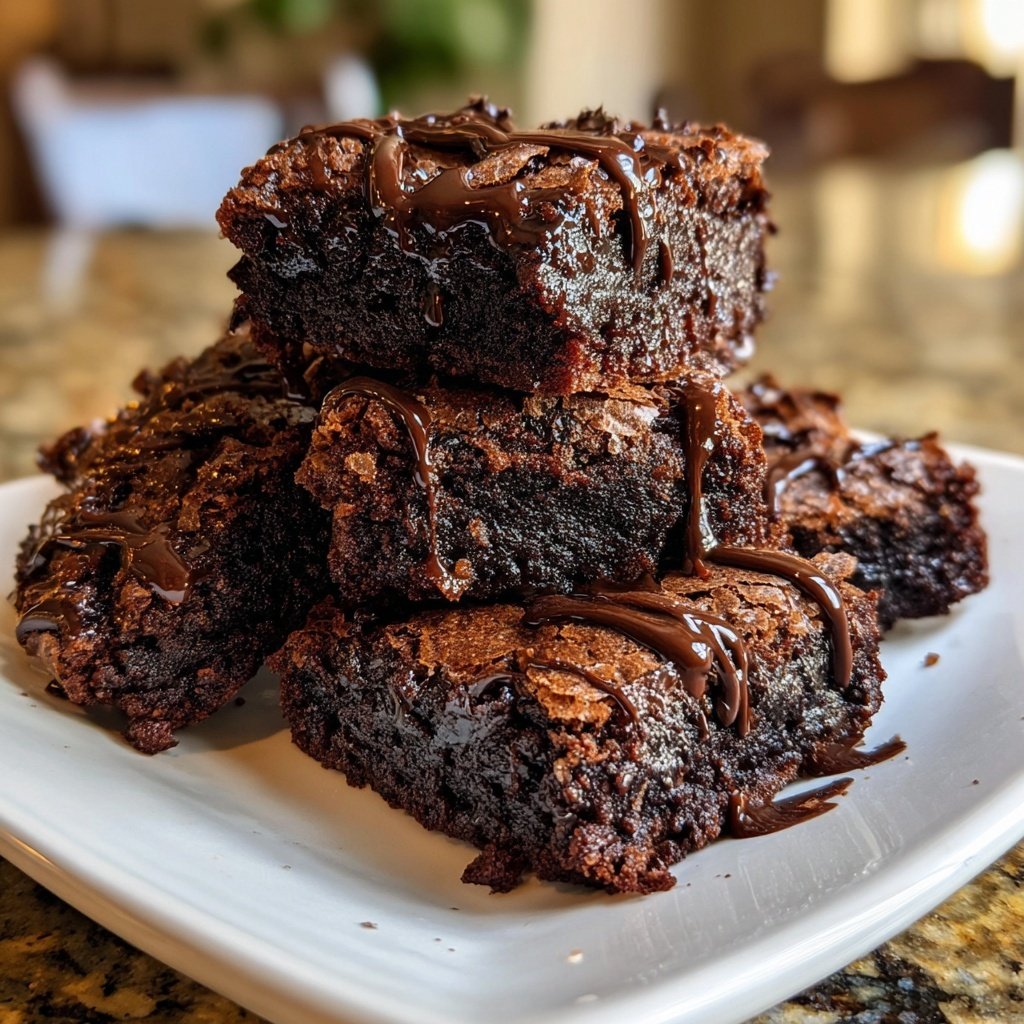
Sourdough Discard Brownies Fudgy
Highlighted under: Soft Kitchen
I absolutely love making these fudgy brownies with sourdough discard! They not only help reduce waste but also impart a unique depth of flavor that takes traditional brownies to the next level. The combination of rich chocolate and the tangy notes from the sourdough creates a delightful balance that everyone will enjoy. Plus, the texture is incredibly satisfying—dense and moist, perfect for satisfying that chocolate craving. I promise that once you try these brownies, you’ll find yourself reaching for sourdough discard more often!
When I first experimented with incorporating sourdough discard in my brownie recipe, I was amazed by the results. The brownies turned out so rich and fudgy, with a subtle hint of tanginess that elevated the chocolate flavor. Using sourdough discard not only adds complexity to the taste but also ensures that I'm making the most of my sourdough journey without wasting any ingredients.
As I continued to refine the recipe, I discovered that adding melted chocolate along with cocoa powder delivers an even deeper chocolate experience. The key is to mix the batter just enough to avoid overworking it, which helps keep the brownies tender and moist. These brownies became a hit in my household, providing sheer indulgence while minimizing food waste!
Why You Will Love These Brownies
- Rich chocolate flavor paired with a unique tang from sourdough discard
- Ultra fudgy texture that melts in your mouth
- Easy to make, perfect for any occasion or craving
Understanding Sourdough Discard
Sourdough discard is the unfed portion of sourdough starter that is typically thrown away during the feeding process. Using it in this brownie recipe not only minimizes waste but also adds a unique flavor profile. The tangy notes from the sourdough complement the rich chocolate, creating a depth that standard brownies lack. This is an excellent opportunity to incorporate a live culture into your baking, enhancing the brownies' flavor and texture.
In this recipe, the sourdough discard also helps to keep the brownies moist and fudgy. The acids in the sourdough interact with the baking soda present in the batter, providing a slight lift while contributing to that ultra-fudgy texture. If you find yourself with excess sourdough discard, these brownies are a delicious and practical way to put it to good use.
The Fudgy Factor
Achieving the perfect fudgy texture is all about the balance of ingredients and mixing technique. Avoid overmixing the batter; once the dry ingredients are incorporated, it’s okay if there are a few lumps. This ensures that the brownies are dense and chewy, rather than cake-like. I recommend using high-quality cocoa powder and chocolate chips, as they contribute significantly to the overall flavor and texture.
Another crucial aspect is the baking time. Overbaking can lead to dry, crumbly brownies, so keep an eye on them in the oven. You want to pull them out when a toothpick comes out with a few moist crumbs attached—this indicates that they will continue to set as they cool. If you prefer a softer center, consider reducing the baking time by a minute or two.
Ingredients
Brownie Ingredients
- 1 cup sourdough discard
- 1/2 cup unsalted butter, melted
- 1 cup granulated sugar
- 2 large eggs
- 1 teaspoon vanilla extract
- 1/3 cup unsweetened cocoa powder
- 1 cup all-purpose flour
- 1/4 teaspoon salt
- 1/2 cup chocolate chips (optional)
Make sure all ingredients are at room temperature for best results.
Instructions
Preheat the Oven
Preheat your oven to 350°F (175°C) and grease a 9x9-inch baking pan.
Mix Wet Ingredients
In a mixing bowl, combine the melted butter, sourdough discard, granulated sugar, eggs, and vanilla extract. Whisk until smooth.
Incorporate Dry Ingredients
Sift in the cocoa powder, flour, and salt. Mix until just combined, being careful not to overmix.
Add Chocolate Chips
Fold in the chocolate chips if using, ensuring they're evenly distributed throughout the batter.
Bake
Pour the batter into the prepared baking pan and spread it evenly. Bake for 25 minutes or until a toothpick inserted into the center comes out with a few moist crumbs.
Cool and Serve
Allow the brownies to cool in the pan for about 10 minutes before transferring them to a wire rack. Cut into squares and enjoy!
These brownies are perfect served warm with a scoop of ice cream!
Pro Tips
- For an even richer flavor, consider using dark chocolate instead of semi-sweet. Also, let your brownies cool completely for cleaner cuts when slicing.
Storage Tips
To keep your brownies fresh, store them in an airtight container at room temperature. They will last for about three days, but I recommend enjoying them within two days for optimal taste and texture. If you find yourself with leftovers, they also freeze beautifully. Cut the cooled brownies into squares, wrap them tightly in plastic wrap, and then place them in a sealed freezer bag. They will stay good for up to three months.
When you're ready to enjoy a frozen brownie, simply remove it from the freezer and let it sit at room temperature for about 30 minutes or microwave it for a few seconds to gently warm it up. This will help restore some of the fudginess and bring back that just-baked quality.
Variations to Try
While the original recipe is delightful, you can easily customize these brownies to fit your taste. For a nutty crunch, consider adding chopped walnuts or pecans into the batter. You can also experiment with different types of chocolate chips—milk, dark, or even white chocolate—for contrasting flavors. If you prefer a minty twist, add a few drops of peppermint extract to the batter for an extra zing.
For a rich caramel flavor, try swirling in some caramel sauce before baking. This not only adds flavor but creates a stunning visual effect when you cut the brownies. Whatever your choice, remember that these variations can change the texture slightly, so adjust the baking time as necessary to maintain that perfect fudgy consistency.
Questions About Recipes
→ Can I use a different type of flour?
Yes, you can substitute with whole wheat flour for a nuttier taste or gluten-free flour for a gluten-free version.
→ How should I store leftovers?
Store in an airtight container at room temperature for up to 5 days or in the fridge for up to a week.
→ Can I freeze these brownies?
Absolutely! Wrap individual brownies in plastic wrap and freeze for up to 3 months.
→ What’s the best way to cut brownies?
Use a sharp knife dipped in warm water for clean edges and to prevent sticking.
Sourdough Discard Brownies Fudgy
Created by: Leonie Fairchild
Recipe Type: Soft Kitchen
Skill Level: Easy
Final Quantity: 16 brownies
What You'll Need
Brownie Ingredients
- 1 cup sourdough discard
- 1/2 cup unsalted butter, melted
- 1 cup granulated sugar
- 2 large eggs
- 1 teaspoon vanilla extract
- 1/3 cup unsweetened cocoa powder
- 1 cup all-purpose flour
- 1/4 teaspoon salt
- 1/2 cup chocolate chips (optional)
How-To Steps
Preheat your oven to 350°F (175°C) and grease a 9x9-inch baking pan.
In a mixing bowl, combine the melted butter, sourdough discard, granulated sugar, eggs, and vanilla extract. Whisk until smooth.
Sift in the cocoa powder, flour, and salt. Mix until just combined, being careful not to overmix.
Fold in the chocolate chips if using, ensuring they're evenly distributed throughout the batter.
Pour the batter into the prepared baking pan and spread it evenly. Bake for 25 minutes or until a toothpick inserted into the center comes out with a few moist crumbs.
Allow the brownies to cool in the pan for about 10 minutes before transferring them to a wire rack. Cut into squares and enjoy!
Extra Tips
- For an even richer flavor, consider using dark chocolate instead of semi-sweet. Also, let your brownies cool completely for cleaner cuts when slicing.
Nutritional Breakdown (Per Serving)
- Calories: 380 kcal
- Total Fat: 26g
- Saturated Fat: 15g
- Cholesterol: 195mg
- Sodium: 85mg
- Total Carbohydrates: 32g
- Dietary Fiber: 3g
- Sugars: 24g
- Protein: 6g